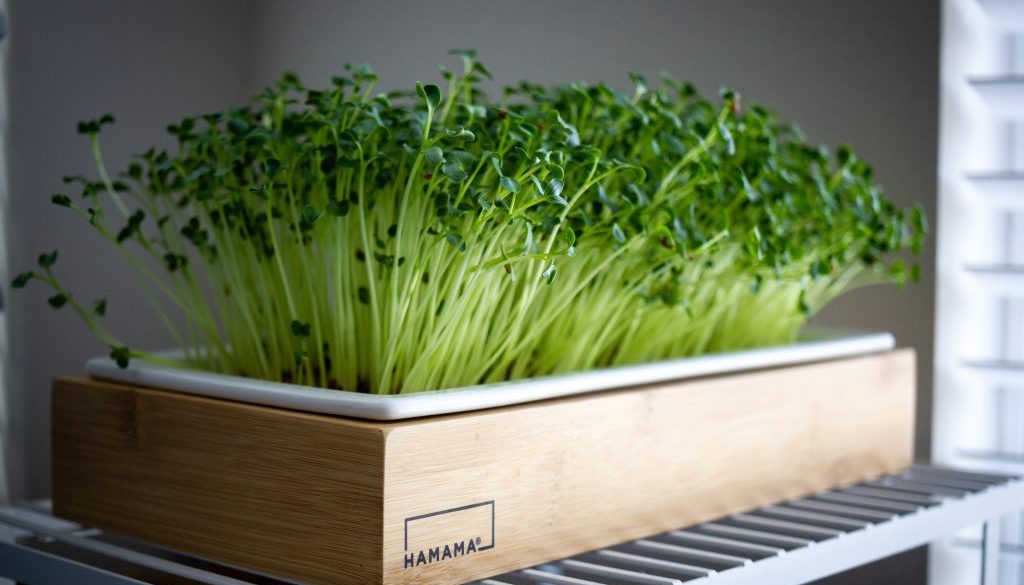
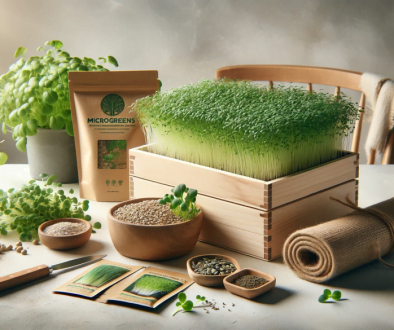
Welcome to the enriching world of growing your own microgreens! This guide is designed to help you learn how to grow microgreens, whether you’re working with an outdoor garden during the warmer seasons or cultivating them indoors throughout the year. This approach is especially ideal for those with limited space. Microgreens are not only simple and enjoyable to grow but also require minimal investment. They offer a diverse range of varieties, each packed with nutrition and flavor.
Essential Materials You’ll Need:
- Containers with drainage holes for growing microgreens
- An opaque lid, such as a tray or platter
- High-quality soil specifically for vegetables
- Your choice of microgreen seeds
- A water sprayer
- Detailed instructions for the specific type of microgreens you’re growing
Your Step-by-Step Guide to Growing Microgreens:
- Seed Preparation: Before planting, it’s crucial to soak most microgreen seeds in cold water. Ensure ample water for absorption, especially for seeds like peas that soak up more than you might expect. Keep the seeds in a cool location and rinse thoroughly after the recommended soaking period.
- Preparing the Container: Fill your containers with about 5-7 cm of soil. Spread and lightly compact the soil to create a moist but not soggy base for your microgreens.
- Planting the Seeds: Evenly distribute the pre-soaked seeds across the soil surface. Ensure they are densely sown but not overcrowded.
- Watering and Covering: Gently press the seeds into the soil. Using your water sprayer, moisten the seeds and soil, then cover the container with a lid. Place it in a spot with a stable temperature, ideally between 18-23°C.
- Maintaining Moisture: Every 12 hours, mist your seeds to keep them adequately moist. This step is vital in learning how to grow microgreens successfully.
- Uncovering: After 3-5 days, once the seeds have started to sprout, remove the lid. At this stage, ensuring your microgreens get sufficient light is critical for their growth.
- Regular Moisture Checks: Keep the soil consistently moist. Avoid waterlogging, as this can hinder the growth of your microgreens.
- Harvest Time: Most microgreens will be ready for harvest within about 10 days. Specific harvest times can vary depending on the seed variety.
- Harvesting Your Microgreens: For the best results, harvest during cooler times of the day. Use scissors to cut the microgreens just above the soil line.
- Washing and Drying: Rinse your harvest in a colander with cold water and then dry them on a clean towel or paper towels.
Additional Tips for Growing Microgreens:
- Keep an eye on planting density.
- Avoid overwatering; it’s the key to how to grow microgreens effectively.
- Ensure the water quality is suitable, ideally with a pH no higher than 6.5.
- Growing multiple crops in a single container can be both efficient and practical.
- Maintain an optimal temperature for your microgreens to thrive.
- Consider additional light sources if natural light is limited.
- Slimy seeds require special care, with less water and attention to mold prevention.
For further information on how to grow microgreens, or to inquire about purchasing seeds, we invite you to contact us through our website’s contact page. Whether you are a beginner or an experienced gardener, our comprehensive guide is here to support you on every step of your microgreen gardening journey. Reach out to us on our contact page, and we’ll be delighted to assist you with your gardening queries!


