In recent times, the trend of cultivating microgreens at home has been gaining remarkable popularity, with numerous compelling reasons behind this upsurge.
Microgreens, renowned for their exceptional nutritional values and intense flavor, have not only become an integral part of luxury restaurant menus but also a symbol of gastronomic prestige.
However, these small yet mighty plants aren’t reserved solely for exclusive culinary tables. With a bit of knowledge and the right tools, you can indulge in this luxury right in your own home.
Key Points (TLDR)
The accessibility and pleasure of home microgreens cultivation
Home cultivation of microgreens is not only readily accessible to everyone, but it also offers immense pleasure.
This process allows you to relish fresh, healthy ingredients straight from your windowsill. This article aims to guide you through all you need to embark on your microgreens cultivation adventure: from selecting seeds and soil, to the essential equipment, and tips for care and harvesting.
Regardless of whether you are an experienced gardener or a beginner, growing microgreens at home is straightforward, affordable, and above all, a rewarding process.
Enriching your kitchen with microgreens
Prepare to discover how to enrich your kitchen with these tiny green wonders, all from the comfort of your home. Welcome to the world of home cultivation of microgreens, where luxury and health go hand in hand.
How to grow microgreens at home
Growing microgreens at home is remarkably simple and does not require much space, time, or money.
Starting options:
If your first thought was about the expense, don’t worry. You have two options: purchasing a starter microgreens kit or starting from scratch. If you decide against buying a kit, you can begin your indoor microgreens gardening experience using either reusable or disposable plastic food containers. Get creative by using items like plastic juice boxes, styrofoam cups, or plastic strawberry containers.
Preparation and sowing:
Make drainage holes and fill them with a mix suitable for starting seeds along with the seeds of your choice. Sprinkle an extra layer of mix over the seeds (following the depth indications on the seed packets) and mist them using a spray bottle. Regular watering (at least daily) and ensuring sunlight are crucial.
Soil vs. soilless growing:
While microgreens can be cultivated without soil, several types of seeds grow better in soil, hence this method is recommended.
Basic requirements for growing microgreens
Seed choices:
You can opt for specialized microgreens seeds, usually organic and non-GMO, or use standard seeds of vegetables, flowers, or herbs. It’s essential that the seeds are fresh and of high quality for quick and uniform germination.
Soil types:
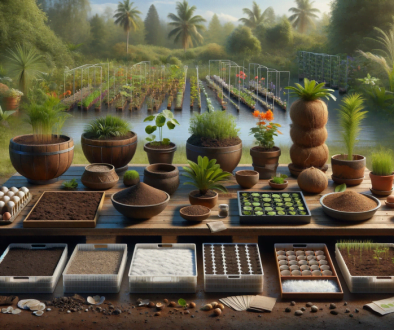
You can use any type of soil that is suitable for growing plants, such as flower substrate, coconut fibers, vermiculite, or perlite. The soil should be loose, moist, and rich in nutrients.
Container selection:
You can use any shallow container with drainage holes, such as plastic trays, pots, bowls, or boxes. The container should be large enough to fit on your windowsill or another place where you’ll keep the microgreens.
Light requirements:
Microgreens prefer light but not direct sunlight, which can dry them out and burn them. The best location is where there is enough natural light, like a north- or east-facing window. If natural light is insufficient, artificial lighting, such as LED or fluorescent lights, can be used, positioned about 15 cm above the microgreens and lit for 12-16 hours a day.
Watering methods:
Microgreens need to be consistently moist, but not wet, to grow healthy and fast. It’s best to water them using a sprayer or a fine shower, ensuring even water distribution and preventing mold formation. Water once or twice a day, depending on the air temperature and humidity.
Beginner and advanced cultivation techniques: from kits to custom configurations
For Beginners:
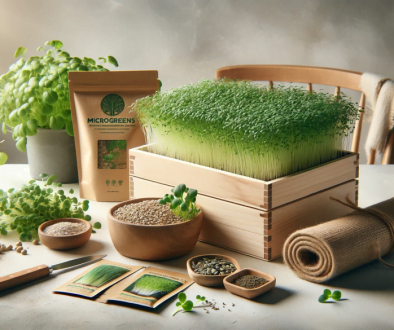
Starter kits are the perfect choice as they contain all the necessary components: seeds, substrate, containers, and instructions. These kits offer a straightforward gateway into the world of microgreens cultivation. Each kit usually includes carefully selected seed varieties that are known for quick growth and ease of cultivation, such as radish, kale, or spinach. The substrates are often designed for optimal moisture retention and drainage, crucial for the delicate roots of microgreens. The instructions provided in the kit detail the process from sowing to harvesting, making it accessible even for those without prior gardening experience.
For Advanced Users:
In advanced microgreens cultivation, the focus shifts to customizing the cultivation system to meet specific needs and goals. This involves selecting high-quality seeds that can provide better yields and specific nutritional profiles. Advanced growers often experiment with different types of substrates, including coconut coir, perlite, or even hydroponic systems that do not use traditional substrates. Containers with proper drainage holes are crucial to ensure that the roots have optimal conditions without the risk of overwatering.
Advanced systems might also incorporate specialized lighting, like LED lights that provide a broad spectrum of light necessary for plant growth but with lower energy consumption. Precise watering systems, such as drip irrigation or automated watering systems, can significantly improve cultivation efficiency, reducing water use and ensuring consistent moisture in the substrate.
Commercial cultivation: an in-depth look at necessary equipment
Commercial cultivation of microgreens requires more detailed planning and extensive equipment:
Grow Room Setup:
A space designed for microgreens cultivation needs controlled light, temperature, and humidity conditions, creating optimal growing conditions for the plants.
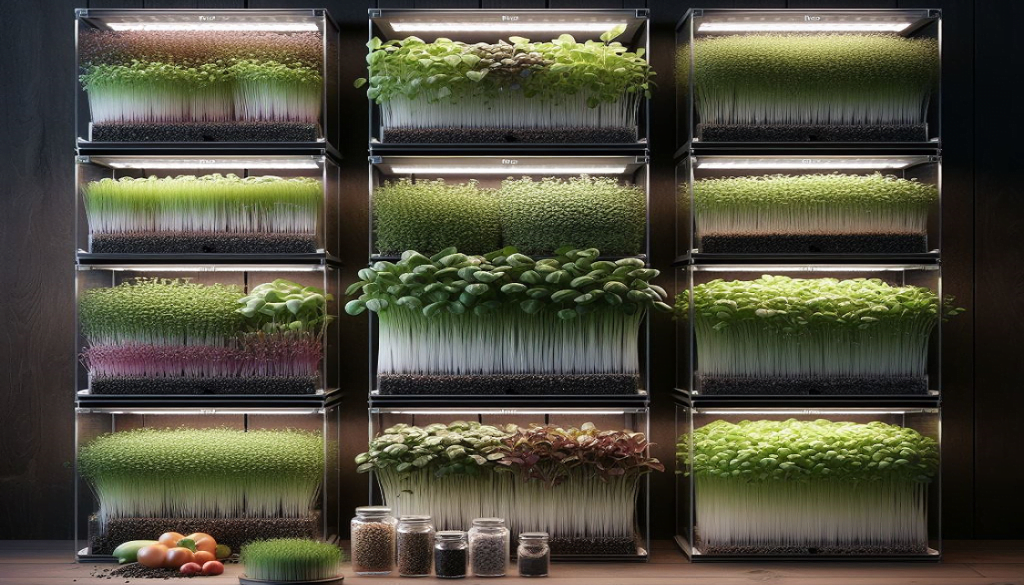
Racks and Shelving:
In setting up a microgreens cultivation space, selecting suitable shelving is crucial for effective organization and space utilization. Multi-shelf racks offer flexibility to accommodate growing trays and lighting systems at various levels. Shelves of varying depths can be used based on your space requirements, with shallower shelves often being sufficient. For cleanliness and safety, opt for shelves that are certified as food-safe.
Lighting Options:
Adequate lighting is essential for successful plant growth. Depending on the types of plants and cultivation conditions, appropriate types of lights (LED, fluorescent) are chosen, providing the necessary light spectra.
Light Timers:
Automating the lighting process with timers allows for precise control over light and dark cycles, enhancing plant growth.
Temperature and Humidity Control:
Using thermometers and hygrometers is necessary for monitoring and maintaining optimal temperature and humidity levels in the cultivation space.
Air Circulation with Fans:
Ensuring proper air circulation with fans helps prevent the formation of mold and other issues associated with stagnant air.
Dehumidifiers:
Controlling humidity in the grow room is key to preventing plant diseases and maintaining the quality of cultivation conditions.
Substrate Selection:
The choice depends on plant needs and preferences. Various substrates, such as coconut fibers, vermiculite, perlite, or specialized ones, can be used, especially with hydroponic systems.
Watering Systems:
Precise watering systems ensure even distribution of water and maintain optimal substrate moisture.
Packaging and Storage:
Providing adequate storage and packaging solutions for market-ready products is an essential aspect of commercial cultivation.
Microgreens cultivation can be adapted to different levels of experience and needs, from personal use to commercial sales. By proper planning and selecting the right equipment, you can enhance the quality of your diet or develop a profitable business in the field of microgreens cultivation.


